Table of contents
NGINX
Before getting into nginx, lets enable the firewall 1) sudo ufw status

2) sudo ufw enable

3) Lets enable ssh, http and https
sudo ufw allow ssh sudo ufw allow http sudo ufw allow https

4) Check the status sudo ufw status

5) Now if you want to access your website only through ip and not ip:port number, we’ll install nginx for that.
sudo apt install nginx
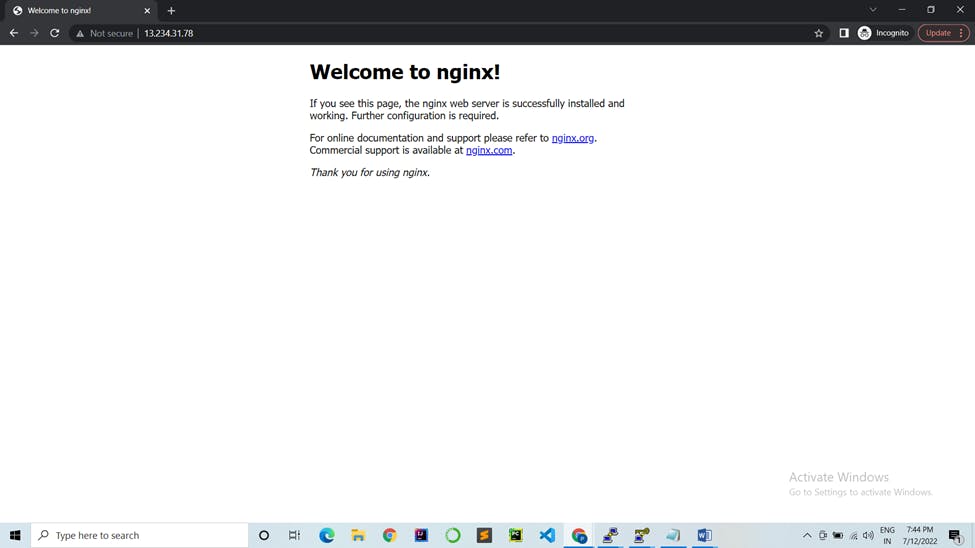
If you hit the ip, you’ll see this page!
6) Lets configure the default file
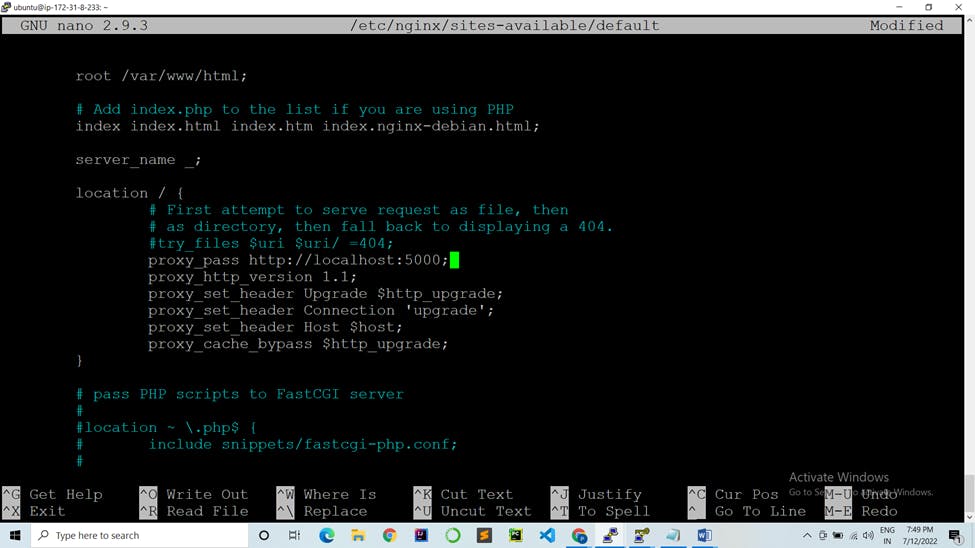
  sudo nano /etc/nginx/sites-available/default*

  In the location section, comment try_files $uri $uri/ =404; using a #

  Add these commands-

    proxy_pass http://localhost:5000; #whatever port your app runs on
    proxy_http_version 1.1;
    proxy_set_header Upgrade $http_upgrade;
    proxy_set_header Connection 'upgrade';
    proxy_set_header Host $host;
    proxy_cache_bypass $http_upgrade;
Ctrl +x, y, enter
7) To check if everything is correct sudo nginx –t

8) Restart the service sudo service nginx restart
9) Now lets go back to our ip and reload it
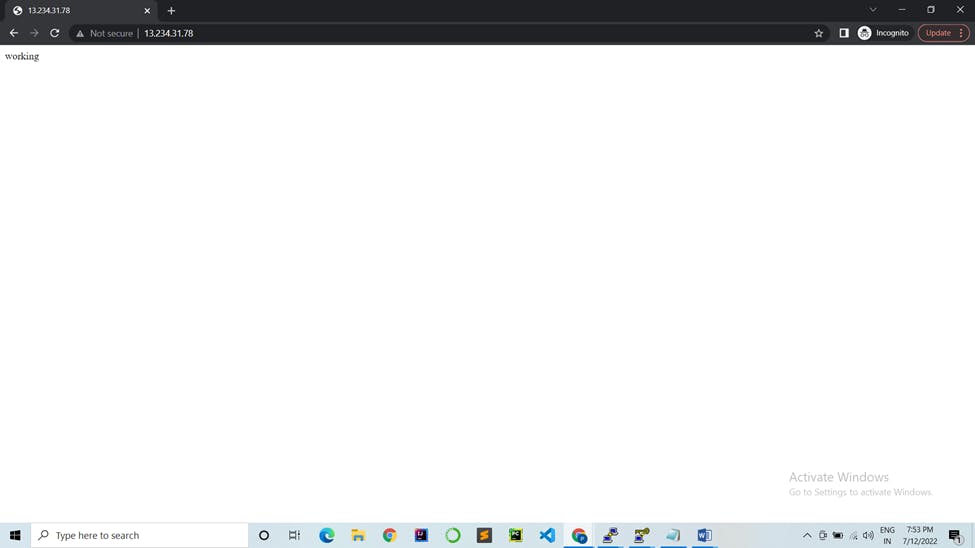
There it is! Our node application is running on port 80. It is running on port 5000 but we are using nginx in front of it as a reverse proxy to access it through port 80
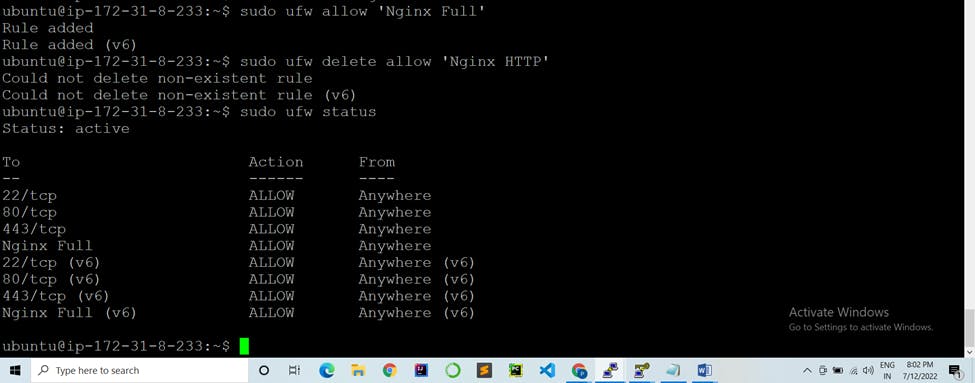
10) To additionally let in HTTPS traffic, allow the Nginx Full profile sudo ufw allow 'Nginx Full' sudo ufw status
SSL Certbot-
11) Obtaining a SSL certificate sudo apt install certbot python3-certbot-nginx
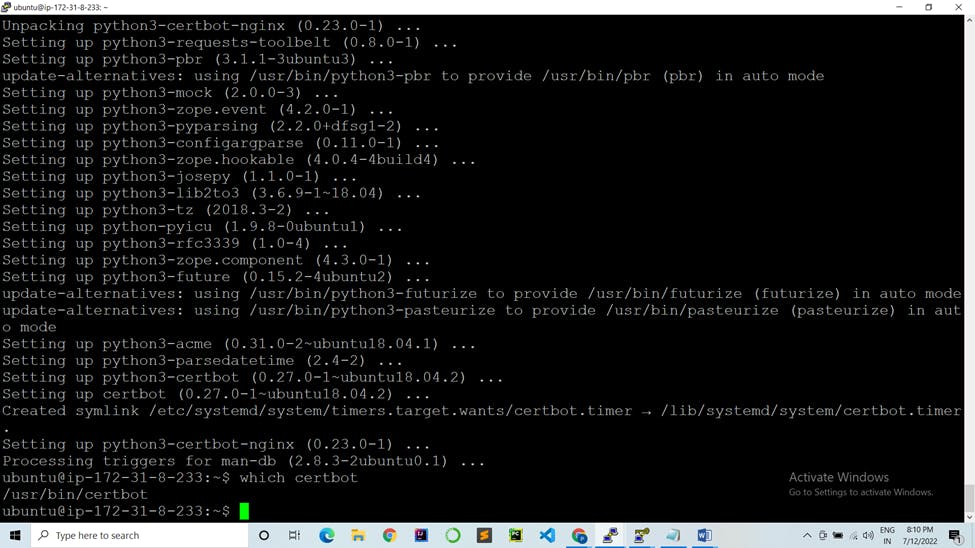
12) Certbot provides a variety of ways to obtain SSL certificates through plugins. The Nginx plugin will take care of reconfiguring Nginx and reloading the config whenever necessary. To use this plugin, type the following
sudo certbot --nginx -d example.com -d example.com
enter email A (agree) N (no)
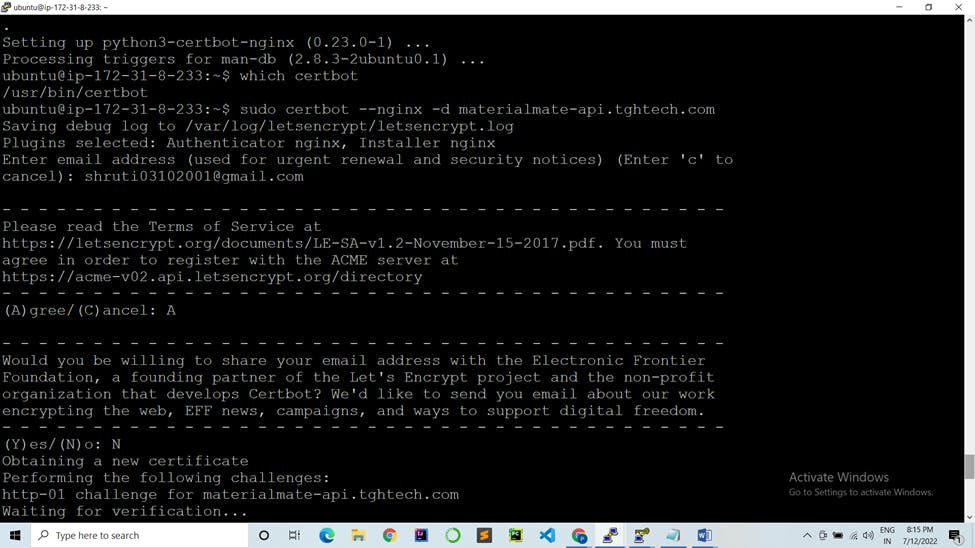
2 (Redirect)
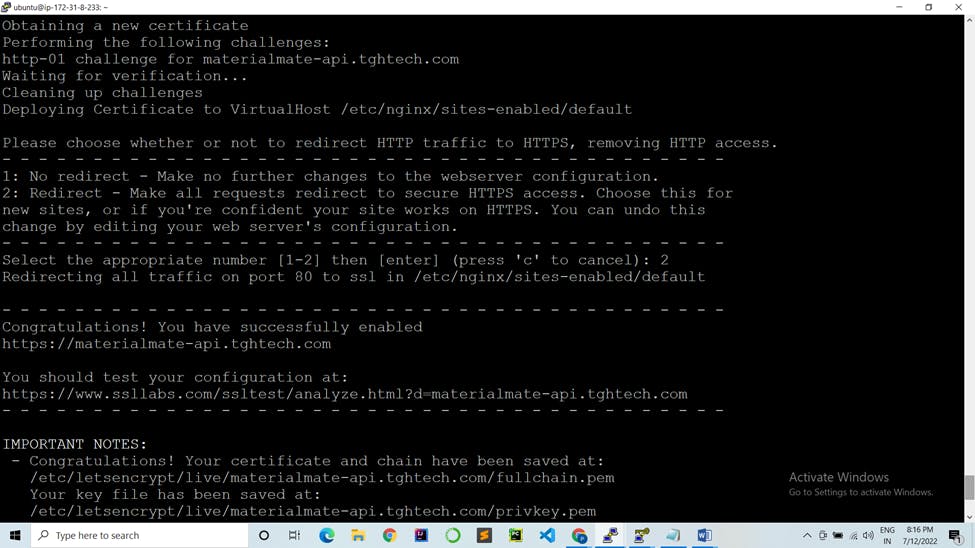
13) Congratulations!
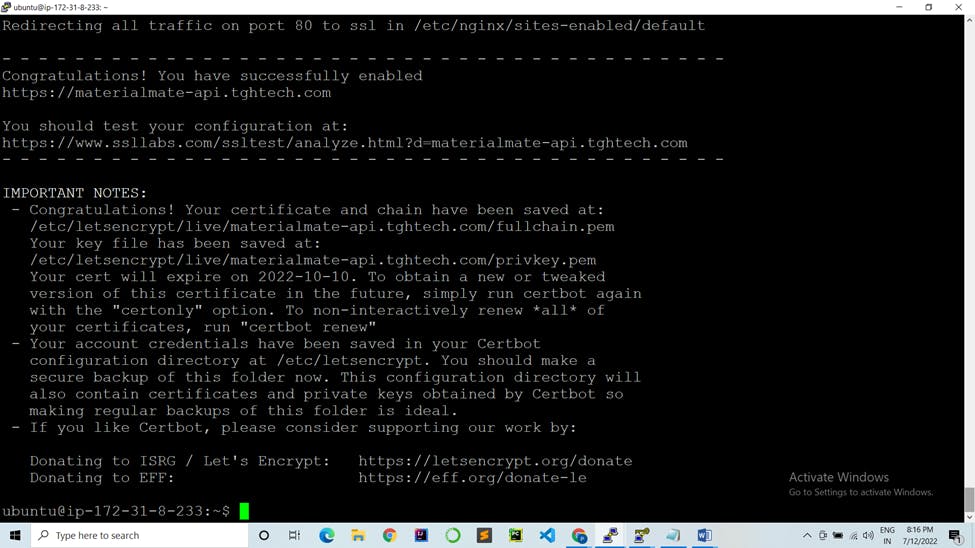
Your certificates are downloaded, installed, and loaded. Try reloading your website using https:// and notice your browser’s security indicator. You’ll notice a lock!
